Introducing Microsoft PC Manager (Beta)

The new Microsoft PC Manager utility, MSPCManager.exe, brings helpful checks and clean-up tools together inside a single application. Under a general “Home” heading, it offers access to performance boost, health check, cleanup and process management, and startup app controls. Under a “Protection” heading, it provides access to threat scans, Windows Update, browser management, and more. It’s a useful addition to the collection of built-in tools in Windows.
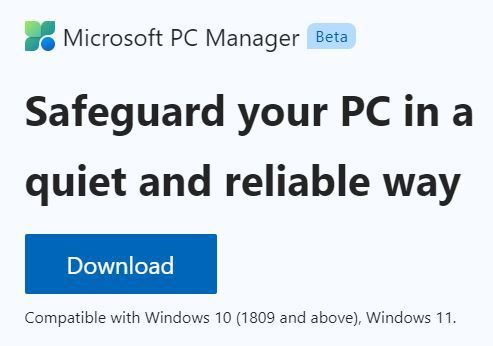
Get this: there’s a new(ish) Microsoft application available in beta test form. Called Microsoft PC Manager, it combines several functions designed to boost performance, check PC health and security, and manage storage. It’s nothing you couldn’t get by combining Disk Clean, Windows Security, PC Health Check, Windows Defender, and a few other odds and ends at the command line (for example, chkdsk). But this tool is compact, convenient, easy-to-use, and fairly speedy. In my book, that makes it worth checking out at a minimum, and using as needed if you like what it does and how it does it. I’ll walk you through installation and download, and then give you a guided tour so you can decide for yourself. Figure 1 shows how Microsoft positions this tool; in my opinion, it's also convenient and reasonably fast. Notice the Beta status and the big blue Download button.
| Used with permission from Microsoft.
Here’s a bit of background on this tool. The Wikipedia page for PC Manager explains it as a development originally targeted at Chinese Windows users, under the name “Windows Master.” I believe this assertion because the various online communities around the tool (Discord and others) all show strong Chinese roots and activity. This tool appeared in English in October 2022, and is still in Beta status as of the writing of this article. That means it’s ready for users to interact with (and report on), but not yet ready for production release. You’ve been warned!
Downloading and Installing PC Manager
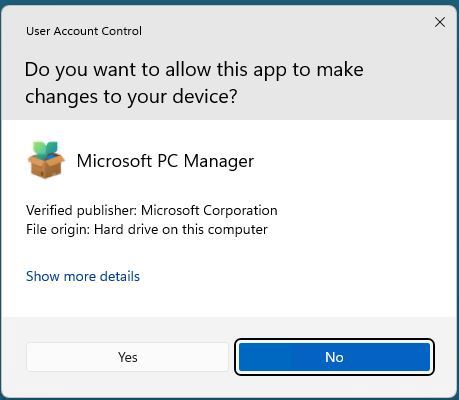
When you select the Download button shown in Figure 1, your browser will download a file named MSPCManagerSetup.exe (reported size in File Explorer: 3,474 KB). Installation is simple: double-click the file icon in Explorer, or right-click the filename, and then select Open from the resulting pop-up menu. For the record, you can also use winget to install this software by using the package name Microsoft.PCManager. (Further evidence of Chinese roots comes from the other package name with the same prefix, namely Microsoft.PCManager.CN where CN is the language code for Mandarin Chinese.) When you launch the setup executable, User Account Control (UAC) asks you to grant permission to start the installation process, as shown in Figure 2.
| Used with permission from Microsoft.
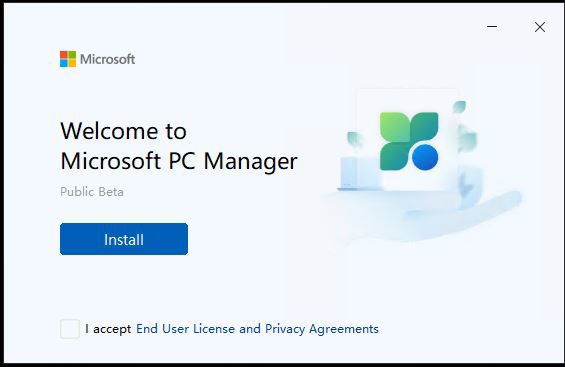
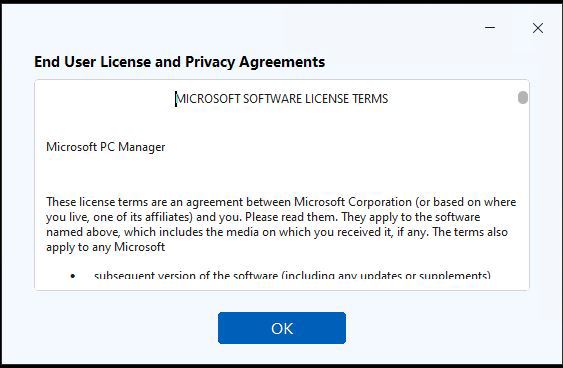
To proceed, select Yes. This opens a welcome screen, as shown in Figure 3, where you must select the blue Install button to read the license and privacy agreements (Figure 4) and then to accept the agreements and proceed with installation.
| Used with permission from Microsoft.
Once you’ve selected the I accept End User License and Privacy Agreements checkbox, it will show a white checkmark against a blue background. Next, to install the program, select Install (as shown in the preceding Figure 3).
| Used with permission from Microsoft.
With that small hurdle overcome, we’re now ready to launch and explore PC Manager.
When the program completes installing, you’ll get a successful installation message and a button from which to launch PC Manager. Figure 5 shows what this looks like.

| Used with permission from Microsoft.
Running and Using PC Manager
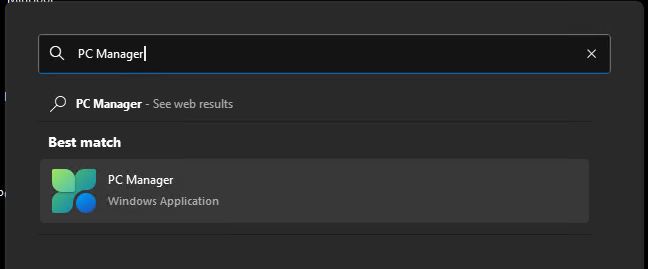
Ordinarily, you’ll enter PC Manager into the Start menu search box, as in Figure 6. The program icon should pop up. To launch the program, select PC Manager.
| Used with permission from Microsoft.
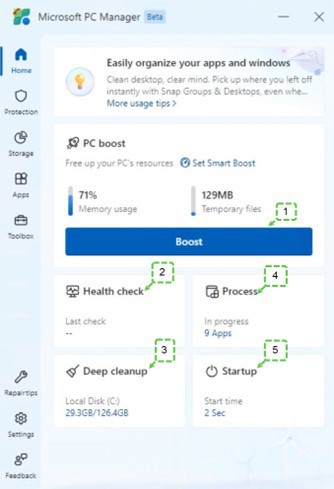
PC Manager launches in a small window (by default, in the lower-right corner of your primary display). You can drag the program window around, but it won’t resize. You can see what the usual home screen looks like in Figure 7, on which I include some numbered tags. I’ll use those as reference points in the following discussion, so pay attention, please!
| Used with permission from Microsoft.
Various points of interest on the PC Manager home screen are labeled 1 -5. I use those numbers to lead you through this figure:
- The Boost button: This shows memory usage and temporary files. If you select this button, the tool cleans out temporary files (the number changes to OKB where you currently see 129MB) and reduces memory consumption. (The 71% value shown drops to 50%.)
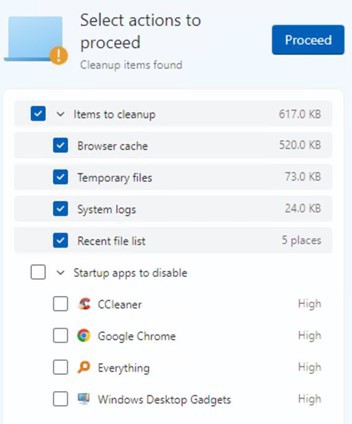
- Health check: Select the monitor icon to the left, and the program launches a scan of your PC. It checks for items to clean up, viruses, system protection, and startup apps to disable. When the scan concludes, PC Manager typically shows the potential items to clean up and startup apps to disable, as in Figure 8. To apply the associated action (cleanup or disable), select the checkboxes next to individual items. Select Proceed to continue, and then select Done to return to the home window when completed.
| Used with permission from Microsoft.
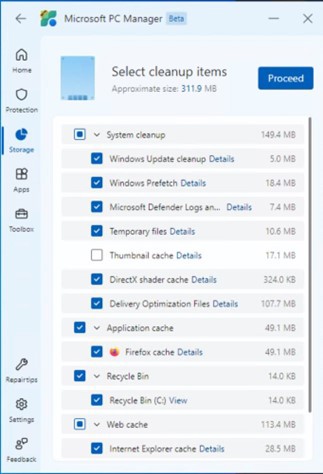
- Deep cleanup: This leads to another scan for file assets of various kinds, including system files, application and web caches, and the Recycle Bin. It works much like the Disk Cleanup utility, with more cache coverage. The resulting Select cleanup items list appears in Figure 9, with a visual emphasis on System cleanup items. Once you’ve checked off your desired items or categories, select the Proceed button (upper right) to commence cleanup action.
| Used with permission from Microsoft.
- Process management: This shows a list of active, running processes, each with an End button to terminate operation. This replicates functionality also found in Task Manager’s Processes tab. See Figure 10.
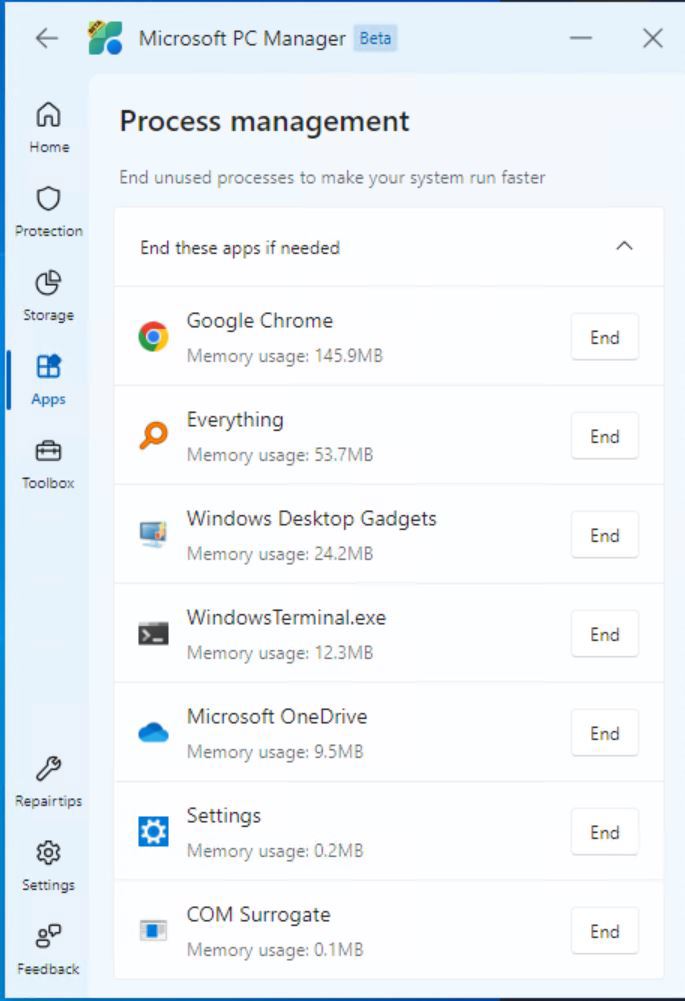
| Used with permission from Microsoft.
- Startup apps: Lists startup processes with an on-off toggle. Items under the recommended heading include OneDrive, security notifications, and other things you might want to leave running at startup. As a matter of principle, I’m not inclined to terminate Startup processes without a little research to understand why they’re present and what it could mean to turn them off. For this kind of thing, I’m more apt to use the Microsoft Sysinternals Autoruns tool instead: it not only provides easy access to online information about the items listed, it also makes it easier to understand where they come from and what else they might depend on (or support).
Navigating the Rest of PC Manager
The items just explored all belong to the Home tab that appears on the top left-hand margin in the PC Manager app. Other items in that list include those discussed in the following sections (in order of appearance).
System Protection
Select this left-hand item on the home screen for PC Manager. It turns blue and shows a different screen, like the one in Figure 11. In this case, it provides access to the Windows Defender security scan functions through its Scan button, along with access to Windows Update (WU) for pending updates, virus definitions, and even device drivers. Again, as a matter of principle, I don’t blindly accept all driver updates from WU. I’d be wary of using this tool for that same purpose without some prior research. It’s a handy way to grab virus definitions and other Defender updates, especially if WU or Windows Security hits the occasional update snag. Browser settings simply let you select a default Web browser, as you can already do in Settings (or during browser installation and setup) quite easily. The same applies to taskbar repair and restoring default apps.
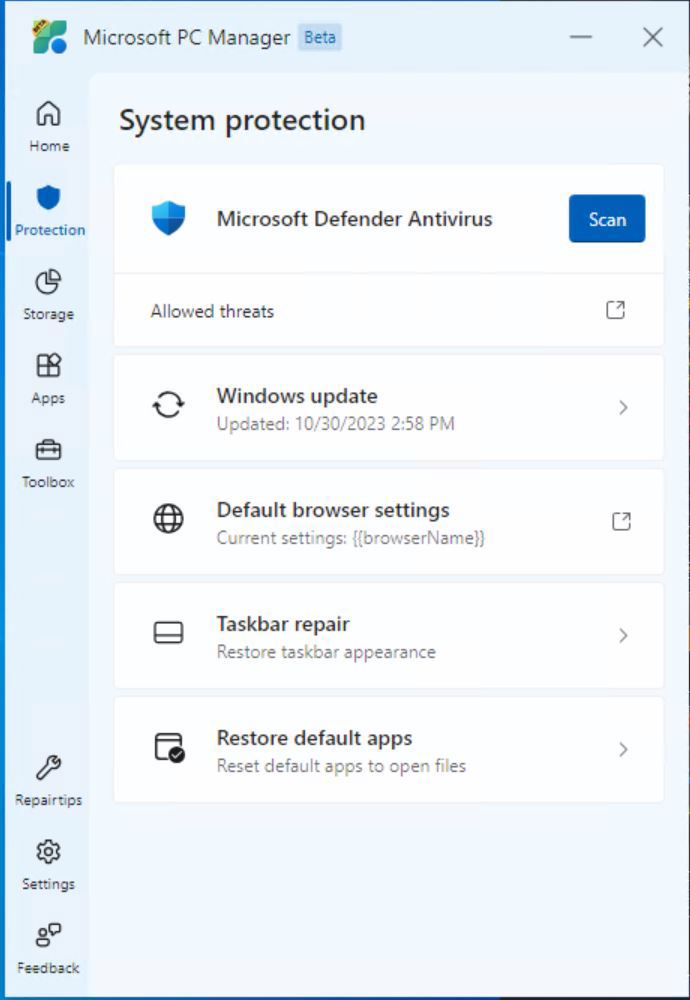
| Used with permission from Microsoft.
Some Rough Edges, But…
Given the issues with the low-visibility checkbox in the installer, two ways to get to Startup items, and a fair amount of overlap with other Windows tools and controls (especially Settings), I can see why PC Manager is still labeled as a “Beta” release on various screens. Microsoft still has some work to do to get this tool production-ready. But it’s worth a look and offers a nice umbrella under which to conduct cleanups, health and security checks, and other management tasks. Check it out, and see what you think!

Ed Tittel
Ed Tittel is a long-time computing industry writer, consultant, and occasional expert witness. He’s the author of over 100 computer trade books, countless articles, and other stuff. For more info, please visit https://edtittel.com.